VPN Client for Mac Instructions
Note: The VPN Client will only work on versions of MAC OS 10.12.6 or older.
These instructions will allow you to connect to VPN for the first time. After you
followed these instructions, you may access VPN by searching for it using Spotlight or through the Apple Launchpad and skipping to step 10.
- While Off-campus, open up a web browser (the latest versions of IE, Firefox or Chrome) and enter: https://ccriconnect.ccri.edu in the web address window.
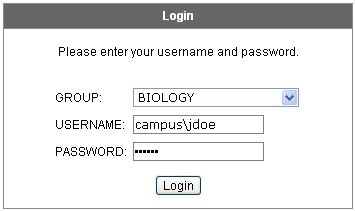
- This will bring you to a Login screen:
- Select your CCRI department from the "GROUP" drop-down list.
- In the "USERNAME:" field enter, "campus\(your CCRI user name) "
- In the "PASSWORD:" field type your “CCRI password”
- Click the "Login" button.
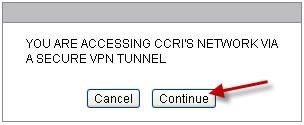
- Another dialog box will appear, Click “Continue” to bring you to CCRI’s WebVPN Service homepage.
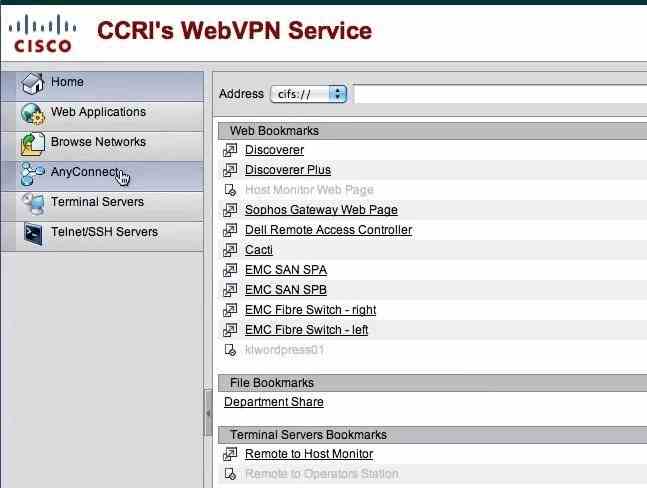
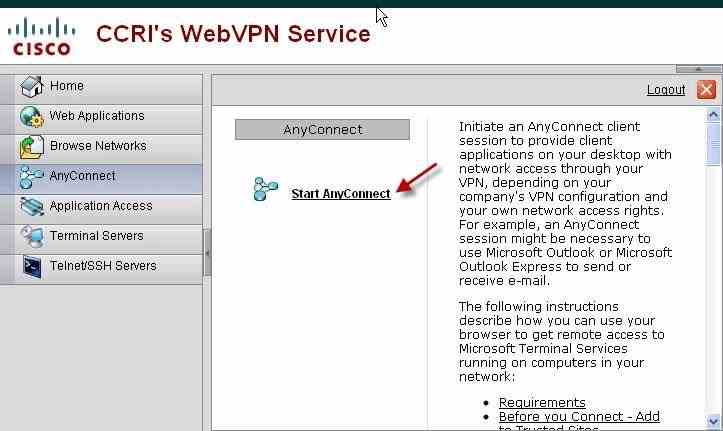
- To install the client, click on the AnyConnect link in the left navigation pane and then click on the Start AnyConnect link:
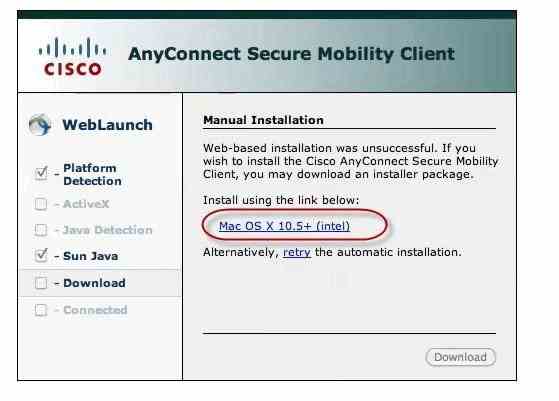
- The website will eventually prompt you to do a Manual Installation. Click on the “Mac OS X 10.6+ (intel)” link and install Cisco AnyConnect.
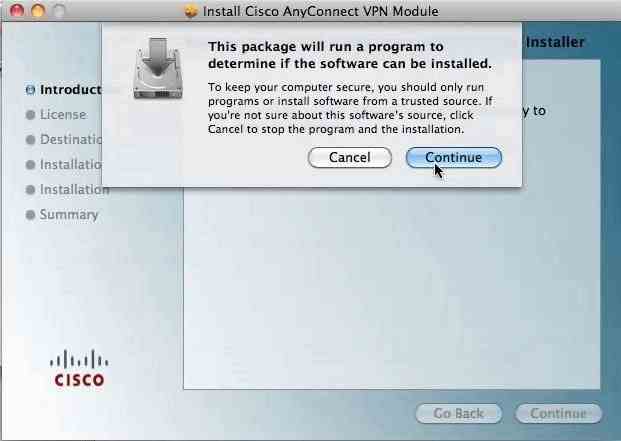
- Run the downloaded file, following the instruction prompts. The program will ask you to click “Continue” several times.
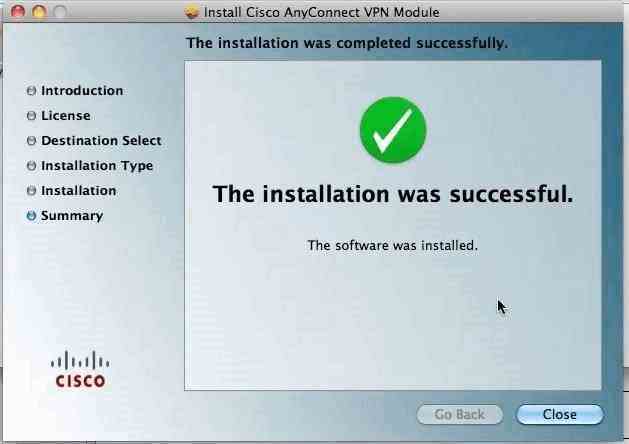
- After AnyConnect VPN installs successfully, click the “Close” button.
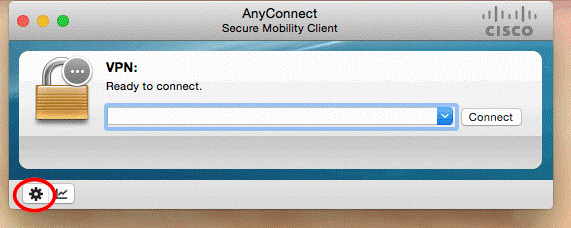
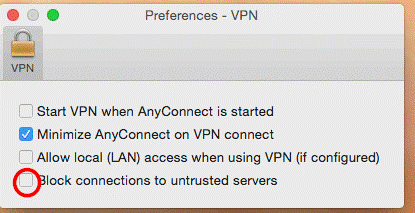
- Open Cisco AnyConnect by searching for it using Spotlight or through the Apple Launchpad. When Cisco AnyConnect opens click on the gear in the bottom right corner.
- Make sure that “Block connections to untrusted servers” is unchecked. You can then close the window.
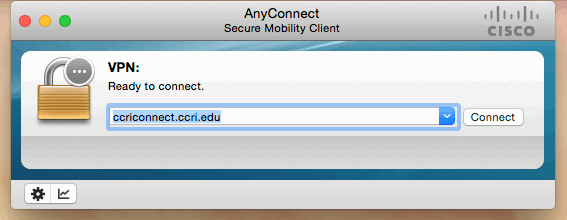
- Underneath VPN: Ready to connect, type in ccriconnect.ccri.edu and click on Connect.
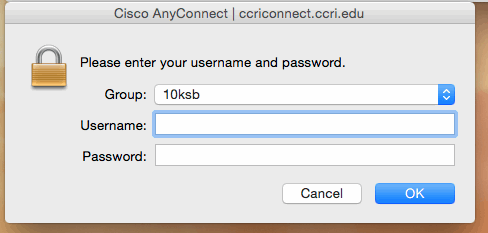
- You will be prompted again for your Group, Username, and Password. Please enter your information and click OK.
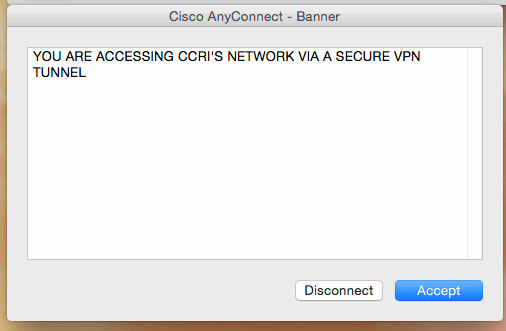
- Next, you must accept the Cisco AnyConnect connection. Click Accept. You are now connected to VPN.
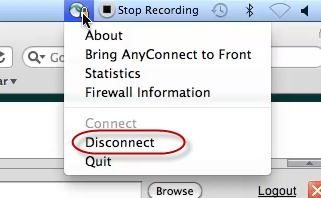
- To end your VPN session, right click on the VPN icon in the system tray and select “Disconnect.”
